Such an installation of a modern underfloor heating, which operates from a standard electrical network, is considered a rather original solution when carrying out major repairs in a dwelling. Such a seemingly unexpected solution justifies itself in cases when the walls of the room need to be insulated, but for a number of reasons, it is not possible to produce the classic insulation familiar to everyone.
- construction trowel;
- notched spatula;
- a roller with a pile;
- electric puncher;
- construction (assembly) knife;
- chisel;
- a hammer;
- means for the destruction of fungus and mold "Neomid" (0.5 kg);
- moisture resistant plasterboard (thickness - 1 cm, area - 4 sq. m);
- insulation for walls with a self-adhesive base "Penoflex" (thickness –0.3 cm, width –1.5 m, length –2.5 m);
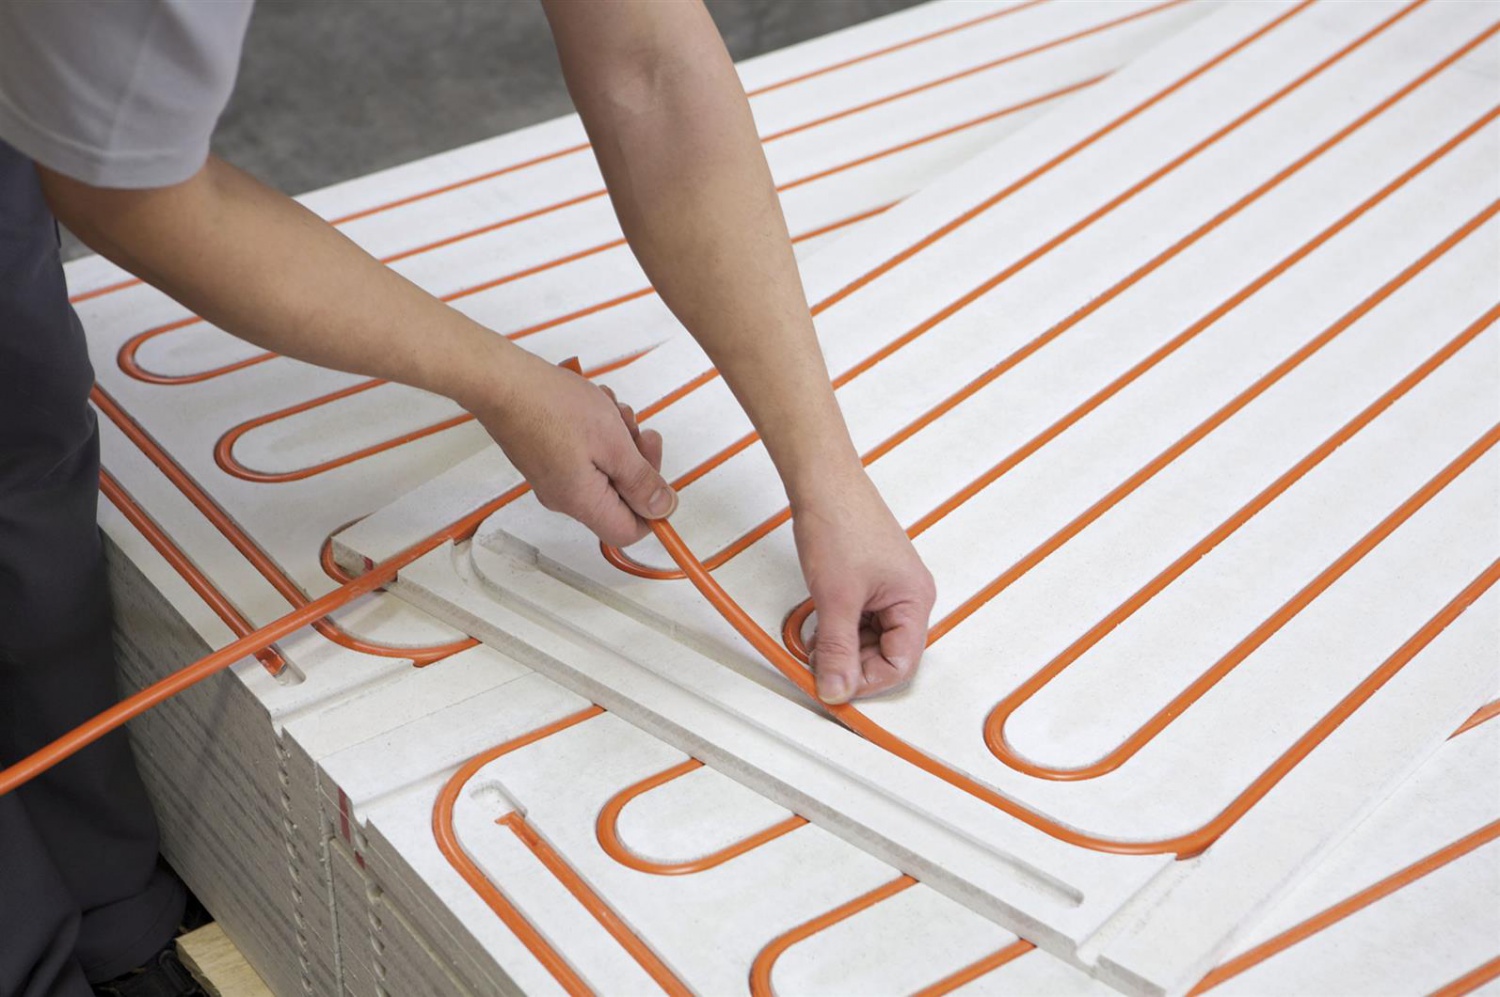
- heating mat for underfloor heating system Teplolux Mini MN 250 - 1.8, where the area of the heated surface is 1.8 sq. m. m;
- masking tape;
- aluminum tape;
- fasteners (dowel-nails 5x50);
- acrylic based primer EK G200 (capacity 5 liters);
- adhesive for tiles EK 3000 (quantity - 25 kg).
After all the materials and equipment have been prepared, you can proceed to the installation work.
Stage one: preparatory work
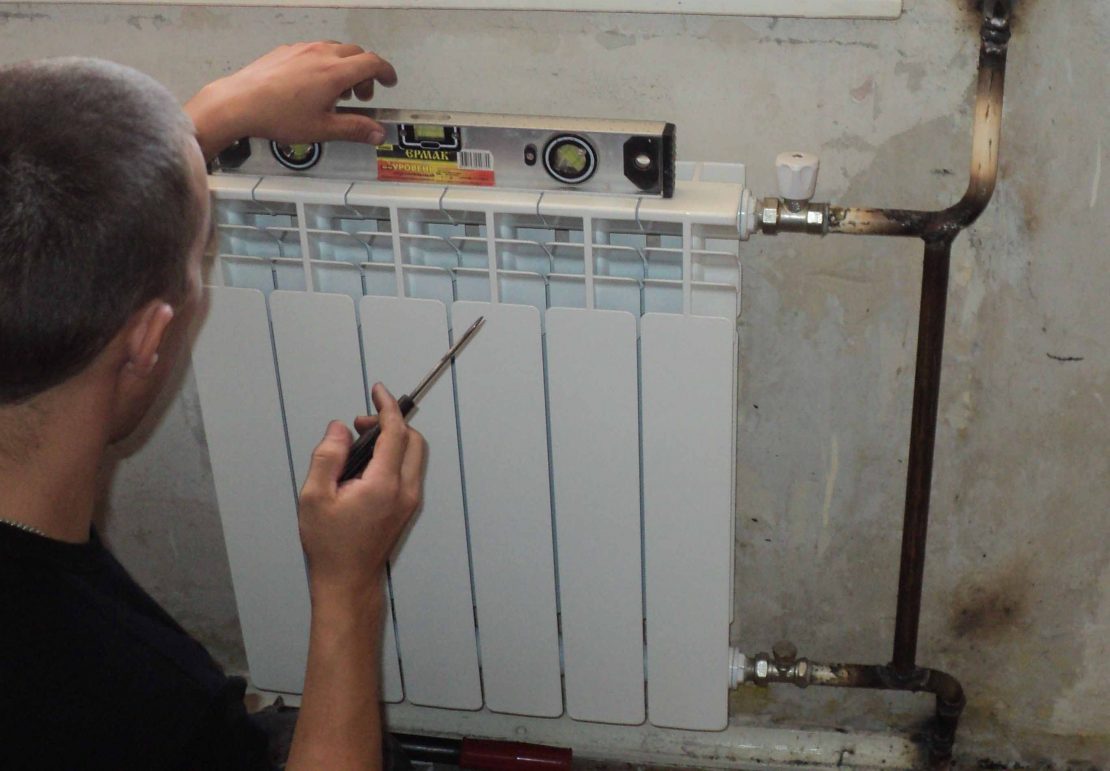
At this stage, the base of the wall is prepared before the installation of the warm floor. At this stage, all the old wall coverings already on the surface are removed to the concrete base of the wall. All bulges must be cleaned off, and all chips and cracks must be covered. After this, the places of contact of the walls are aligned at right angles. After a while (when the walls are dry), the surfaces must be treated with the "Neomid" agent against fungus and mold.
Stage two: installing the base of the warm floor
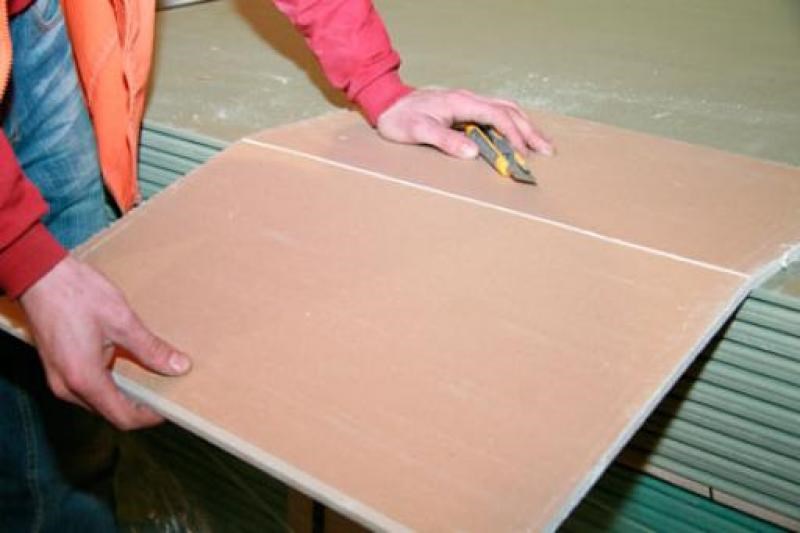
In accordance with the dimensions of the drywall, the material for the insulation is cut with the help of scissors. Insulation with a self-adhesive base is perfect for this, since it is much more convenient to work with it. The insulation is fastened in this way: the protective material is removed from the adhesive base and fixed on the surface of the drywall with short presses. The joints in the heat-insulating layer are glued with aluminum tape.
Stage three: installing a warm floor
The above-mentioned underfloor heating model is quite convenient to install, because it looks like a self-adhesive polymer mesh with a cable fixed on it, which heats the room. The mesh must be spread over the entire surface, the protection removed from the adhesive base and fixed to the wall. The adhesive base of the heating mat is not designed for vertical fixing, which is why additional fixation is required using aluminum tape.In accordance with the instructions for installing a warm floor, it is required to prepare special leads in order to connect a special sensor and electrical power in the future.
Stage four: final finishing
Ceramic tiles are laid on the wall as a finishing finish for the warm floor. In this case, the technique of performing the operation will not differ in any way from the classical gluing of ceramic tiles to the wall surface.
Stage five: connection
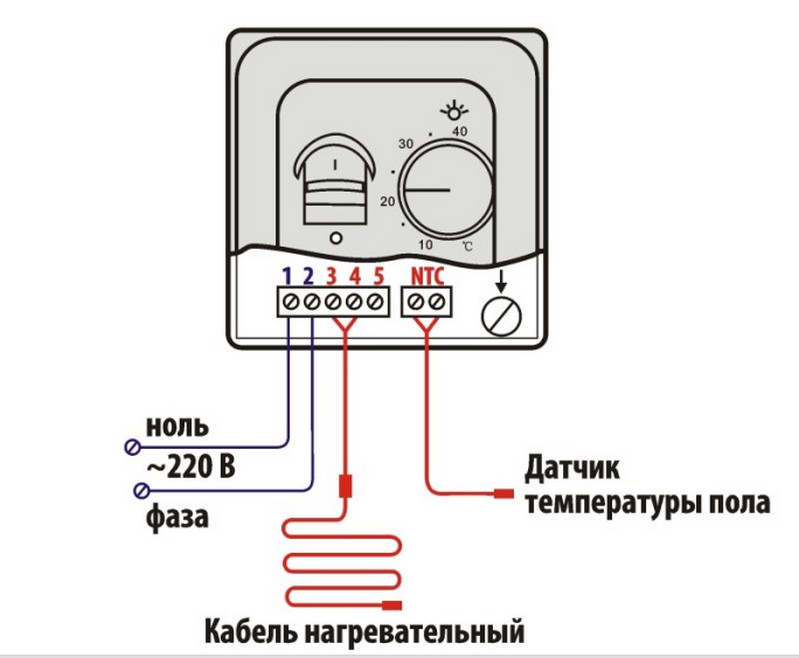
- check the RCD machine to which the heating element will be connected, only then can the power supply be connected;
- equip a protective ground for connecting the sensor-regulator and batteries;
- to install wires and cables of the sensor-regulator in a special cable channel.
It should be noted that the sensor-regulator should be installed only outside the bathroom, because there is always high humidity in this room. In the event that it is not possible to mount the regulator sensor outside the bathroom, its installation should be carried out only in a special case protected from moisture.